Upgrading VCF 5.2 to 9.0 – Part 8 – Deploy VCF Fleet Management Components

VCF 9.0 introduced the concept of VCF fleet, which is defined as:

An environment that is managed by a single set of fleet-level management components – VCF Operations & VCF Automation. A VCF fleet contains one or more VCF Instances and may contain one or more standalone vCenter instances, managed by the VCF Operations instance for the fleet. The management domain of the first VCF Instance in the VCF fleet typically hosts the fleet-level management components.

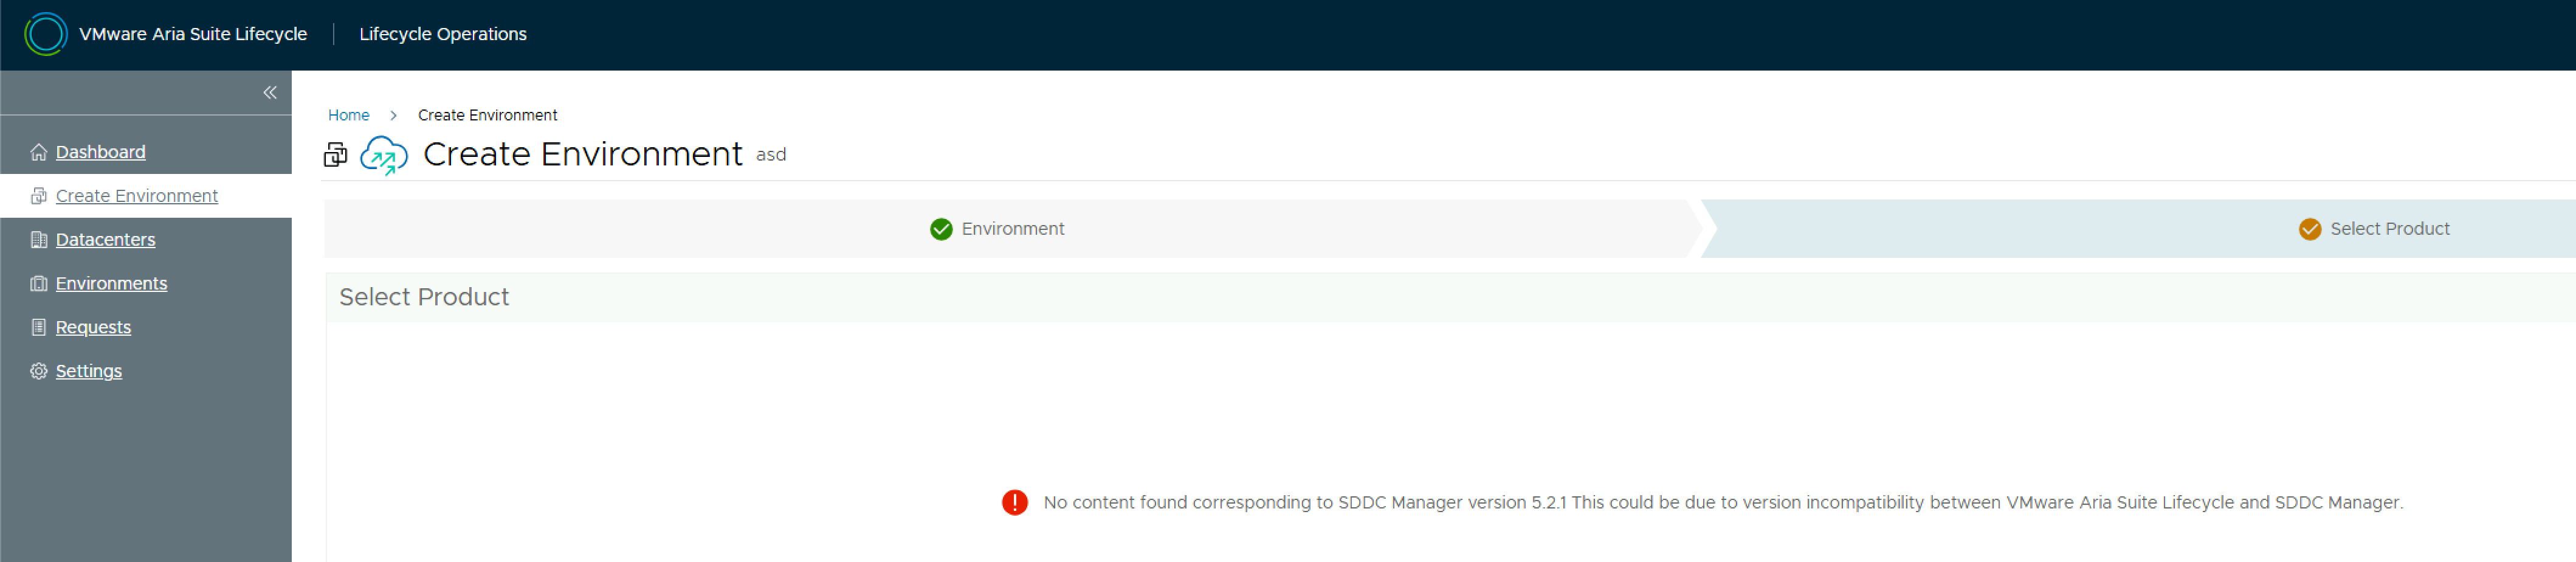
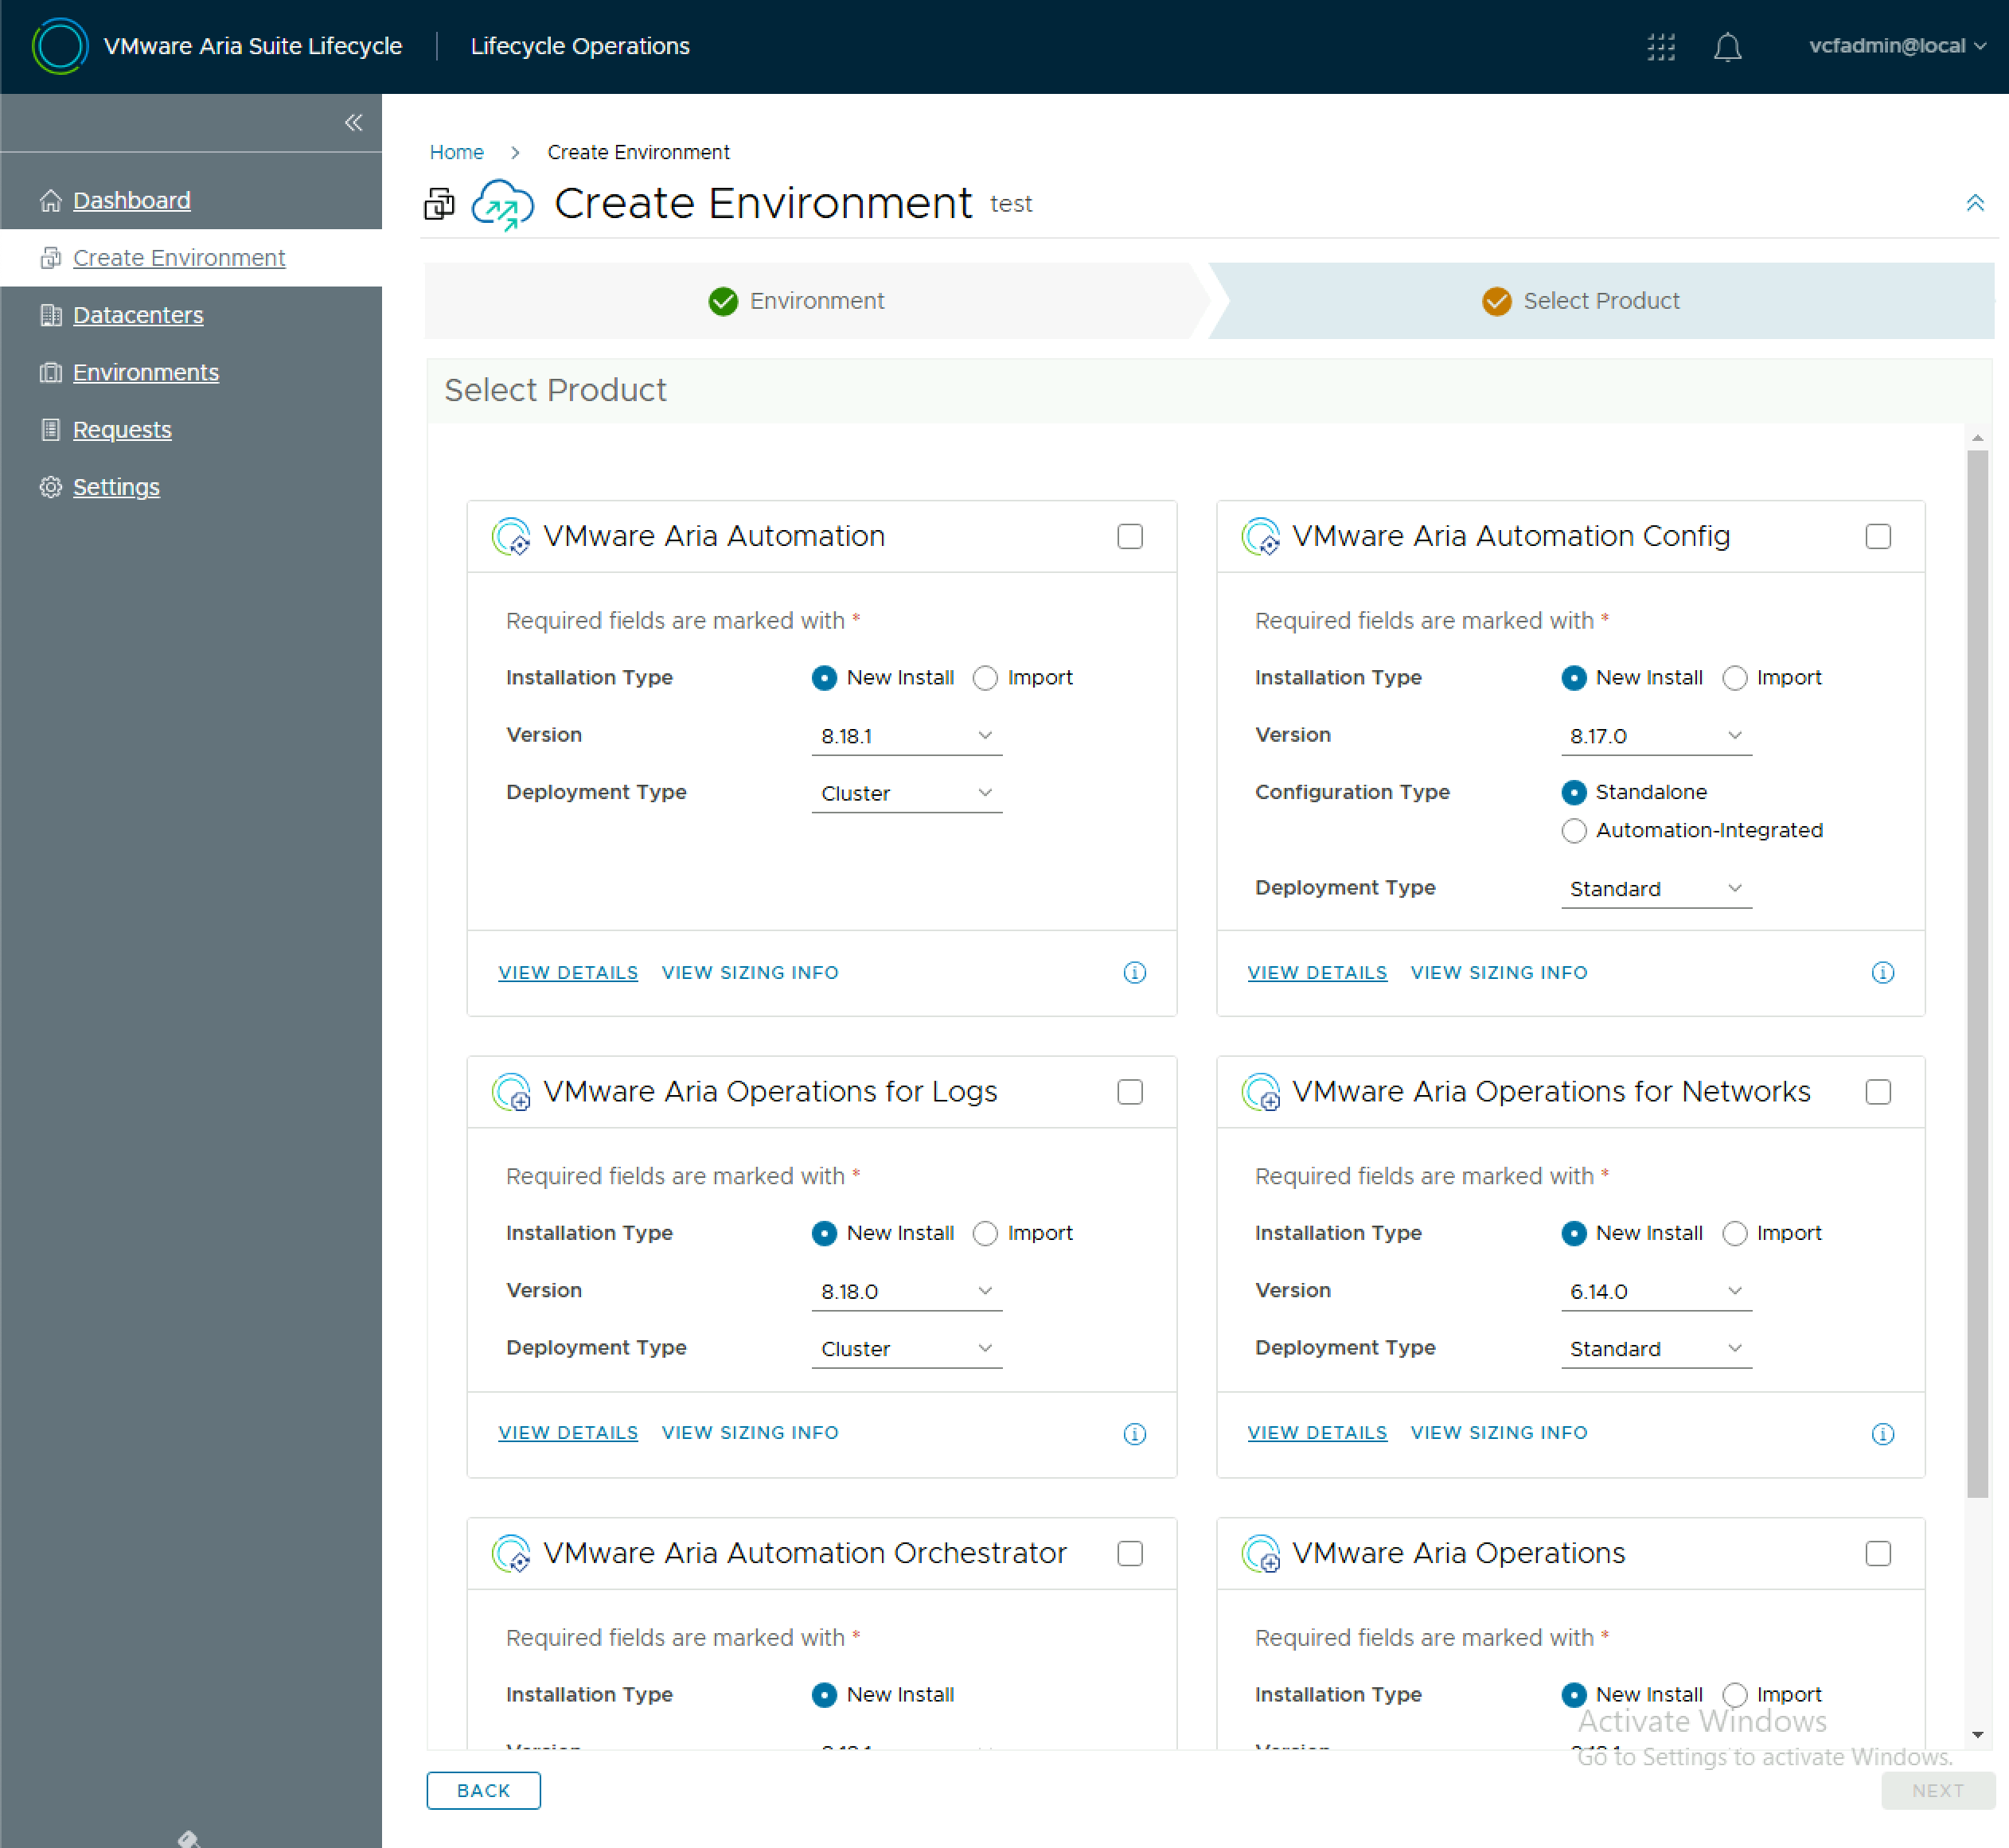
When deploying a new VCF fleet, you get the option to deploy the fleet-level management components using the VCF installer. Because I am upgrading from VCF 5.2, where I did not have Aria Operations or Aria Automation, I need to deploy new instances of each component (If I had pre-existing instances, they could be upgraded). You can deploy them manually from OVA, however, there is a new SDDC Manager API to automate the process using a JSON payload.

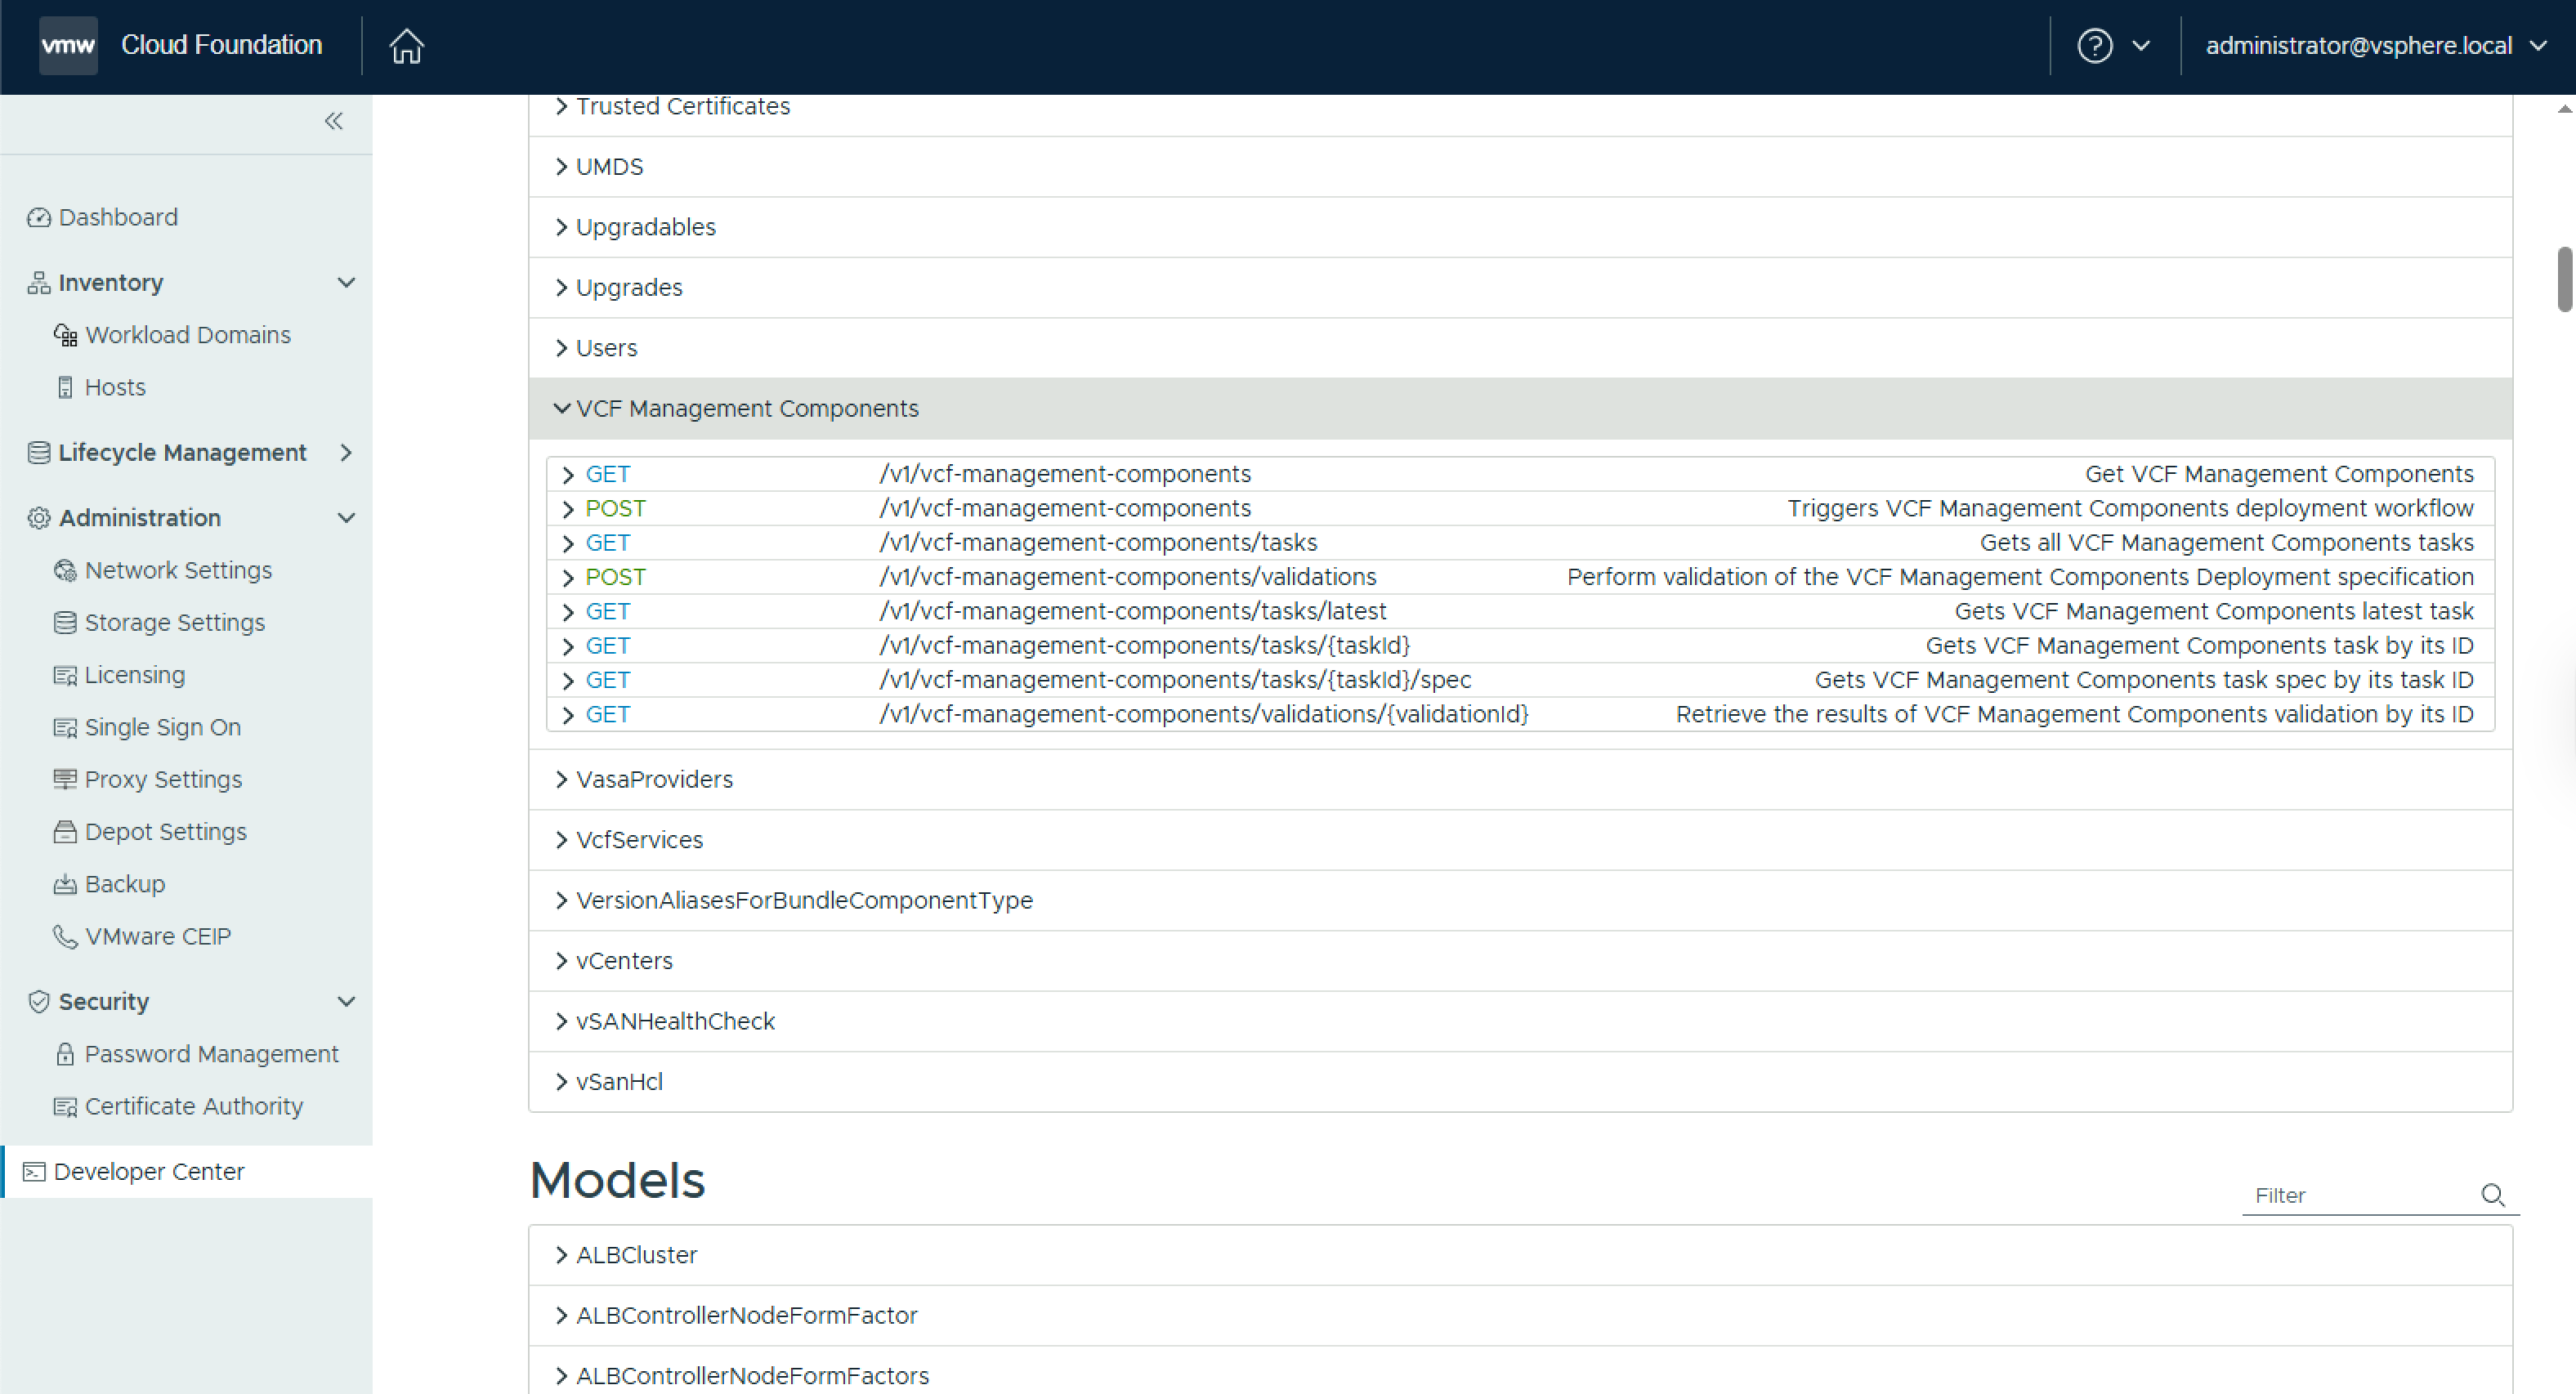
The API can be accessed via the SDDC Manager developer centre, under VCF Management Components.

The JSON payload to deploy VCF Operations (including a collector & the fleet management appliance) and VCF Automation is as follows: (NOTE: This spec is for a simple/single node deployment of the fleet management components where VCF Operations & VCF Automation will be deployed to an NSX Overlay segment, and the VCF Operations collector will be deployed to the management DVPG)

 {
    "vcfOperationsFleetManagementSpec": {
        "hostname": "flt-fm01.rainpole.io",
        "rootUserPassword": "VMw@re1!VMw@re1!",
        "adminUserPassword": "VMw@re1!VMw@re1!",
        "useExistingDeployment": false
    },
    "vcfOperationsSpec": {
        "nodes": [
            {
                "hostname": "flt-ops01a.rainpole.io",
                "rootUserPassword": "VMw@re1!VMw@re1!",
                "type": "master"
            }
        ],
        "useExistingDeployment": false,
        "applianceSize": "medium",
        "adminUserPassword": "VMw@re1!VMw@re1!"
    },
    "vcfOperationsCollectorSpec": {
        "hostname": "sfo-opsc01.sfo.rainpole.io",
        "rootUserPassword": "VMw@re1!VMw@re1!",
        "applianceSize": "small"
    },
    "vcfAutomationSpec": {
        "hostname": "flt-auto01.rainpole.io",
        "adminUserPassword": "VMw@re1!VMw@re1!",
        "useExistingDeployment": false,
        "ipPool": [
            "192.168.11.51",
            "192.168.11.52"
        ],
        "internalClusterCidr": "250.0.0.0/15",
        "vmNamePrefix": "flt-auto01"
    },
    "vcfInstanceName": "San Francisco VCF01",
    "vcfMangementComponentsInfrastructureSpec": {
        "localRegionNetwork": {
            "networkName": "sfo-m01-cl01-vds01-pg-vm-mgmt",
            "subnetMask": "255.255.255.0",
            "gateway": "10.11.10.1"
        },
        "xRegionNetwork": {
            "networkName": "xint-m01-seg01",
            "subnetMask": "255.255.255.0",
            "gateway": "192.168.11.1"
        }
    }
}

Validate your JSON payload using the POST /v1/vcf-management-components/validations API.

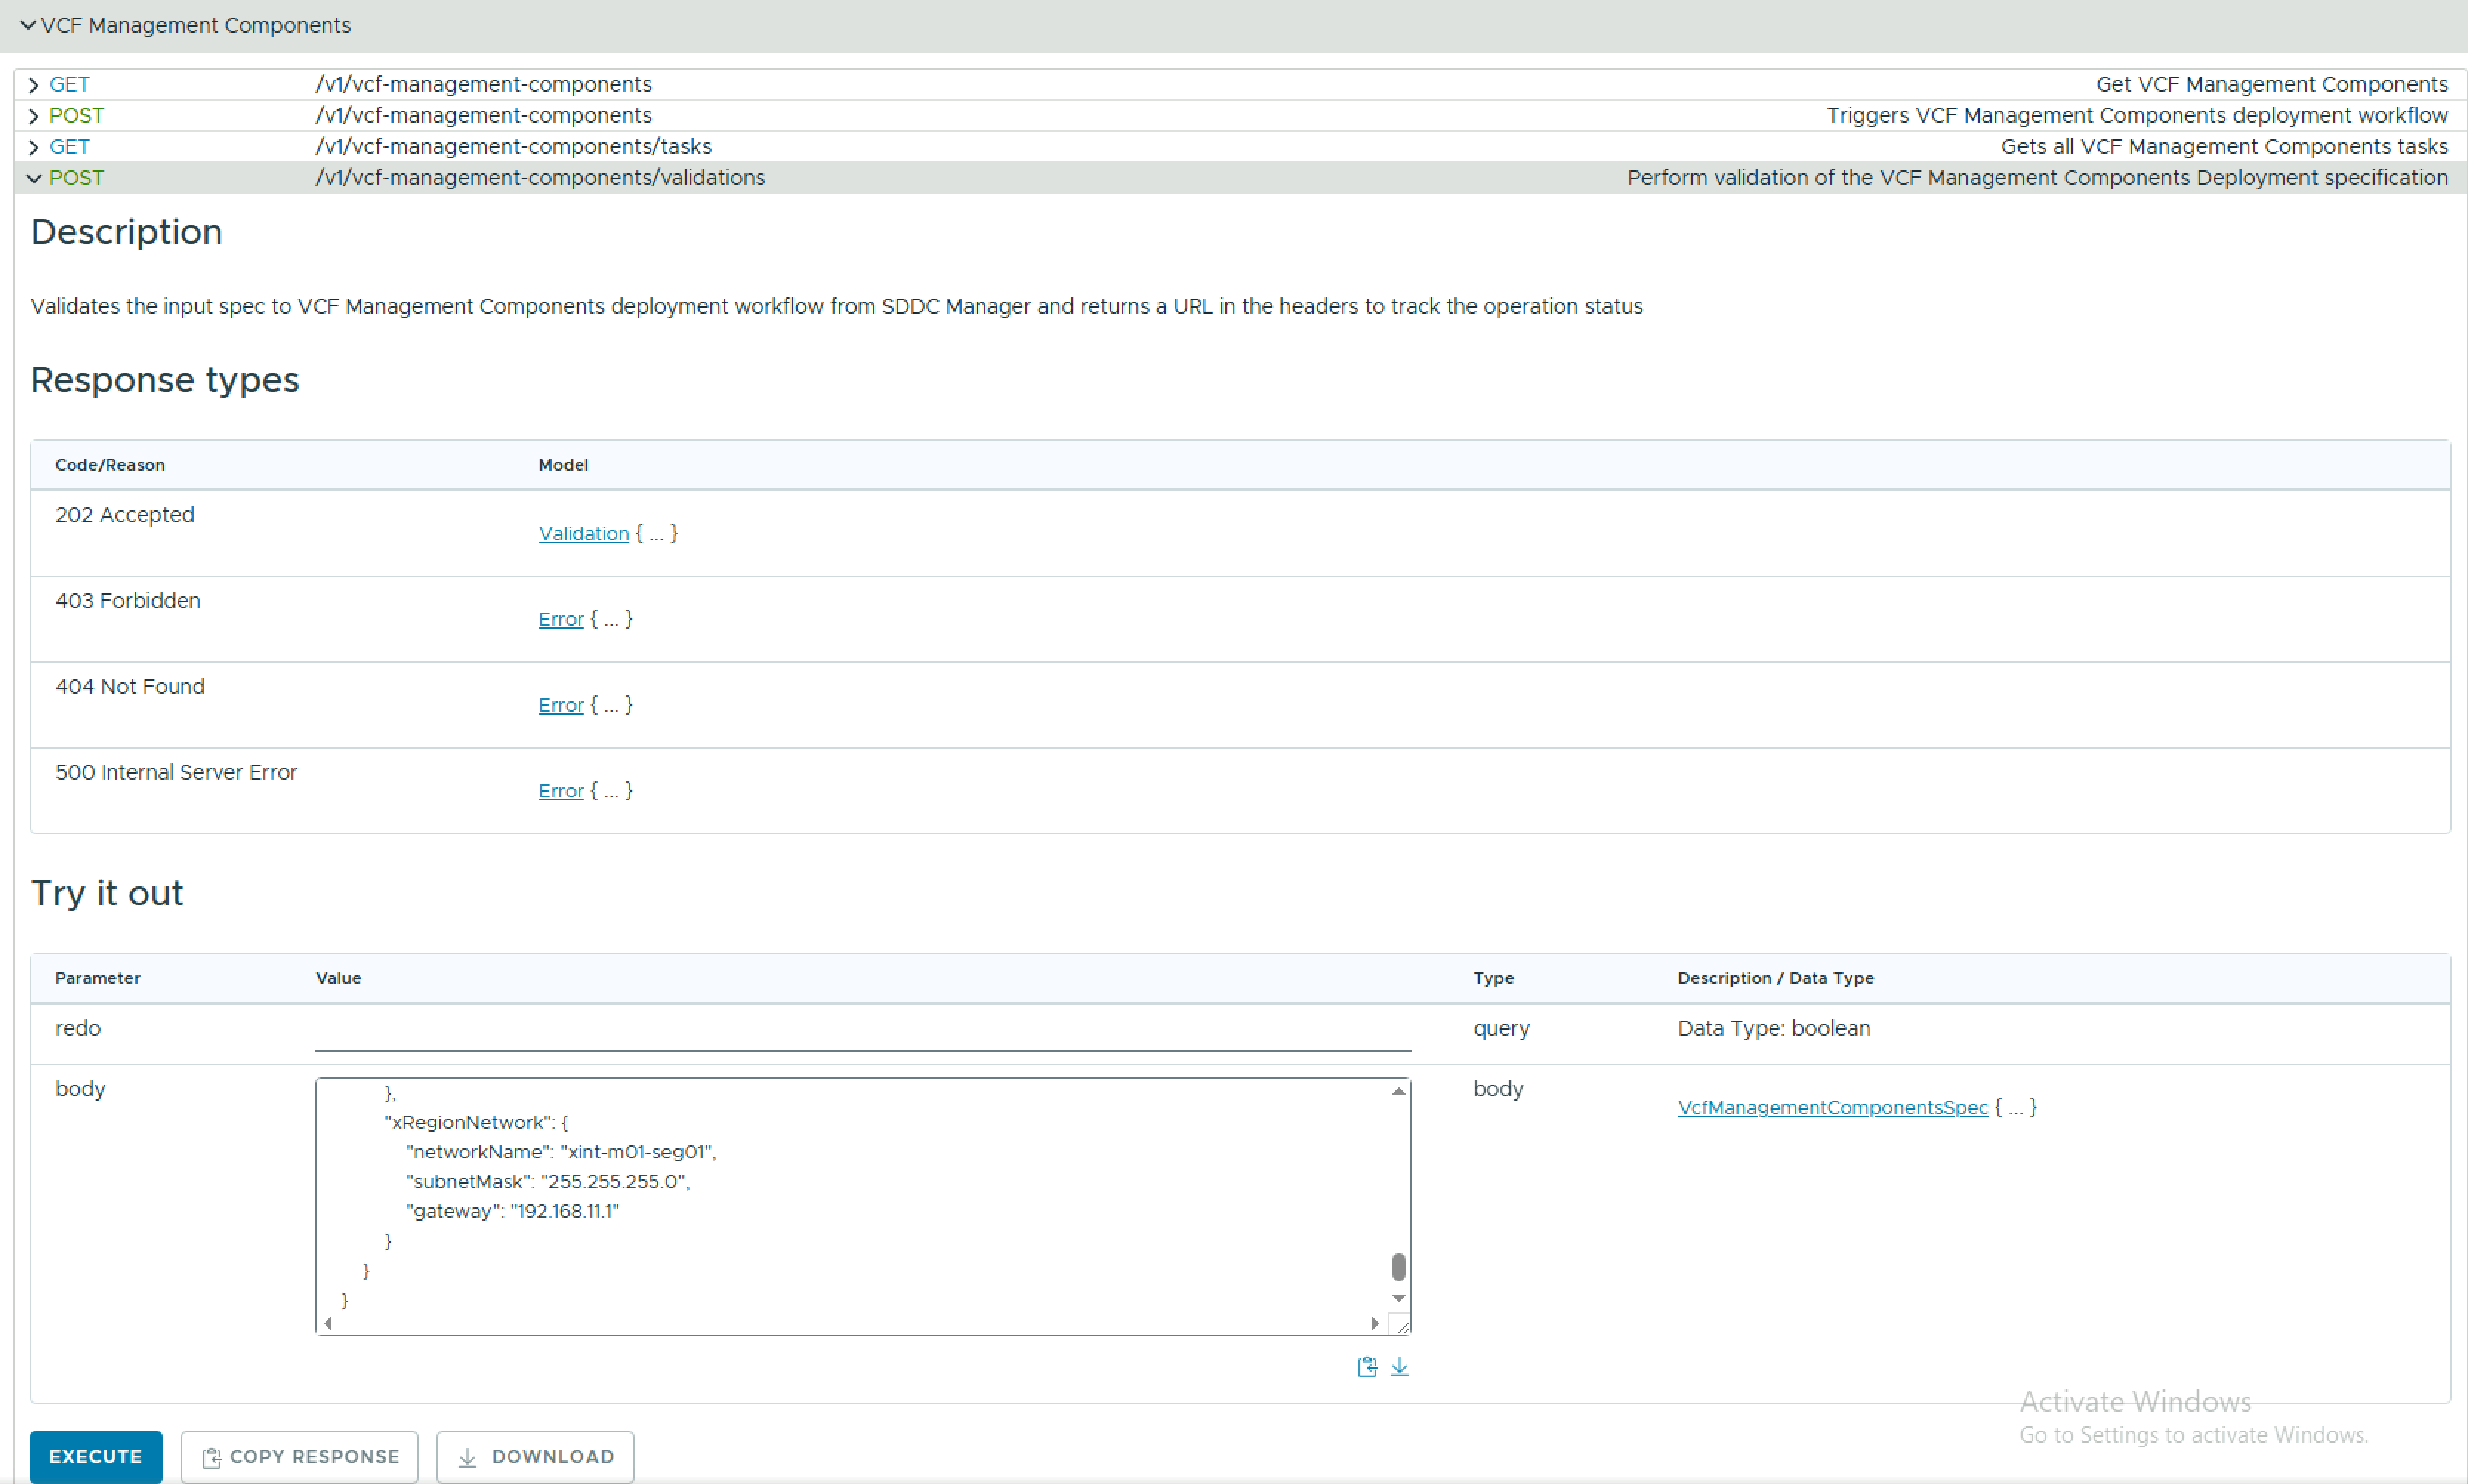
Executing this will return a task id. Copy this id to monitor the task

Check the status of the validation task using GET /v1/vcf-management-components/validations/{validationId} until it’s resultStatus is SUCCEEDED.

Now, submit the same JSON payload to POST /v1/vcf-management-components, and go grab a coffee!

Once the deployment completes, you should have a VCF Operations instance to manage your fleet, along with a VCF Automation instance for the consumption layer.

Quick Tip: No products found in Aria Lifecycle Manager with VCF 5.2.1

VCF 5.2.1 ships with Aria Lifecycle Manager 8.18. When you attempt to deploy an environment you will be met with the following error:

No content found corresponding to SDDC Manager version 5.2.1 This could be due to version incompatibility between VMware Aria Suite Lifecycle and SDDC Manager.

The reason for this is you need a product support pack (pspak) for Aria LCM 8.18 – specifically VMware Aria Suite Lifecycle 8.18.0 Product Support Pack 3. See this KB for more details on which product support pack maps to which release.

Download the pack from the Broadcom support site and log into Aria LCM. Navigate to Lifecycle Operations > Settings > Product Support Pack and click Upload.

Take a snapshot of Aria LCM and then click Select file and select the product support pack, and click Import.

Monitor the upload process in the Requests pane. Once the upload completes, navigate back to the Product Support Pack screen. The support pack will be shown. Click Apply Version & Submit. Aria LCM will restart services during the install.

Once the install completes, you should not have a list of available products when creating an environment.

Add VMKernels for vSphere Replication using PowerCLI

When configuring vSphere Replication between 2 vCenter Servers, you need to add a dedicated VMKernel to each host in the source & target vCEnter Server clusters. Depending on the number of hosts per cluster, this can be a time-consuming manual task. Here is a quick script leveraging PowerCLI to retrieve the hosst from a specified cluster and loop through them adding a dedicated vSphere Replication VMKernel.

#Source VC vmks
$vCenterServer = "sfo-m01-vc01.sfo.rainpole.io"
$vCenterServerUser = "administrator@vsphere.local"
$vCenterServerPassword = "VMw@re1!VMw@re1!"
$clusterName = "sfo-m01-cl01"
$PortGroupName = "sfo-m01-cl01-vds01-pg-vlr"
$VLANID = 1116
$VSwitch = "sfo-m01-cl01-vds01"
$VMKIP = "10.11.16."  # last octet will be incremented
$lastOctetStart = 101
$SubnetMask = "255.255.255.0"
$mtu = 9000

# Connect to vCenter
Connect-VIServer -Server $vCenterServer -user $vCenterServerUser -password $vCenterServerPassword

# Get Esxi hosts in cluster
$ESXiHosts = Get-cluster -name $clusterName | Get-VMHost

# Loop through each host and add an adapter with vSphere Replication Services enabled
$index = $lastOctetStart
foreach ($ESXi in $ESXiHosts) {
    Write-Host "Processing host: $ESXi"

# Define VMkernel IP for this host
    $VMKIPAddress = "$VMKIP$index"
    $index++

# Add VMkernel adapter
    Write-Host "Adding VMkernel adapter $VMKIPAddress to $ESXi"
    $vmk = New-VMHostNetworkAdapter -VMHost $ESXi -VirtualSwitch $VSwitch -PortGroup $PortGroupName -IP $VMKIPAddress -SubnetMask $SubnetMask -VMotionEnabled $false -mtu $mtu
    $vnicMgr = Get-View -Id $ESXi.ExtensionData.ConfigManager.VirtualNicManager
    $vnicMgr.SelectVnicForNicType('vSphereReplication',$vmk.Name)
$vnicMgr.SelectVnicForNicType('vSphereReplicationNFC',$vmk.Name)

    Write-Host "VMkernel adapter added successfully on $ESXi"
}

# Disconnect from vCenter
Disconnect-VIServer -Confirm:$false

Retrieve VCF Operations Appliance Root Password from the VMware Aria Suite Lifecycle Locker

When you deploy a component using VMware Aria Suite Lifecycle, it stores the credentials in it’s locker. If you need to SSH to a VCF Operations appliance and you dont know the root password, you need to retrieve the root password from the VMware Aria Suite Lifecycle locker. To do this you need to query the Aria Suite Lifecycle API for a list of locker entries using basic auth.

GET https://flt-fm01.rainpole.io/lcm/locker/api/v2/passwords?from=0&size=10

From the response, locate the corresponding vmid for the VCF OPs appliance

{            
"vmid": "a789765f-6cfc-497a-8273-9d8bff2684a5",            "tenant": "default",            
"alias": "VCF-flt-ops01a.rainpole.io-rootUserPassword",          "password": "PASSWORD****",            
"createdOn": 1737740091124,            
"lastUpdatedOn": 1737740091124,            
"referenced": true        
}

Query the Aria Suite Lifecycle locker for the decrypted password, again with basic auth, passing the Aria Suite Lifecycle root password in the payload body.

#BODY (Aria Suite Lifecycle root password)
{
  "rootPassword": "VMw@re1!VMw@re1!"
}

POST https://flt-fm01.rainpole.io/lcm/locker/api/v2/passwords/a789765f-6cfc-497a-8273-9d8bff2684a5/decrypted

If all goes well, it should return the password

{
    "passwordVmid": "a789765f-6cfc-497a-8273-9d8bff2684a5",
    "password": "u!B1U9#Q5L^o2Vqer@6f"
}

Setup HAProxy as a Load Balancer for VMware VCF Operations

HAProxy is a free opensource load balancer that is supported for use with VMware VCF Operations (formerly VMware Aria Operations). Here are the steps you need to install and configure it on a Debian VM. This configuration was for a lab deployment and may not be optimised for production. Use at your own risk!

EDIT: My colleague Ryan Johnson has very kindly written a shell script to perform the steps. Code available here.

Add an interface to the Debian VM for the VCF Operations VIP


vi /etc/network/interfaces

# Insert the following and save the changes substituting the VLANs/Subnets with your own

# VCF OPs VIP
auto eth1.1110
iface eth1.1110 inet static
address 10.11.10.30
netmask 255.255.255.0
mtu 9000

# Restart network service
systemctl restart networking.service

Install HAProxy

apt-get install haproxy 

# Backup default haproxy.cfg cp /etc/haproxy/haproxy.cfg /etc/haproxy/haproxy.cfg.bak

Create a new haproxy.cfg file with the following contents

# Configuration file to load balance VCF Operations
#global parameters 
global
		log 127.0.0.1 local2
		chroot /var/lib/haproxy
		pidfile /var/run/haproxy.pid
		maxconn 2000
		user haproxy
		group haproxy
		daemon
		stats socket /var/lib/haproxy/stats
		ssl-server-verify none
#default parameters unless otherwise specified 
defaults
		log global
		mode http
		option httplog
		option tcplog
		option dontlognull
		timeout connect 5000ms
		timeout client 50000ms
		timeout server 50000ms
#listener settings for stats webpage can be optional but highly recommended listen stats :9090
		balance
		mode http
		stats enable
		stats auth admin:admin
		stats uri /
		stats realm Haproxy\ Statistics
#front settings in this case we bind to all addresses on system or specify an interface
		frontend vrops_frontend_secure
		bind 10.11.10.30:443
		mode tcp
		option tcplog
		default_backend vrops_backend_secure
#backend configuration of receiving servers containing tcp-checks health checks and hashing
		backend vrops_backend_secure
		mode tcp
		option tcplog
		balance source
		hash-type consistent
		option tcp-check
		tcp-check connect port 443 ssl
		tcp-check send GET\ /suite-api/api/deployment/node/status?services=api&services=adminui&services=ui\ HTTP/1.0\r\n\r\n
		tcp-check expect rstring ONLINE
		server node1 10.11.10.31:443 check inter 15s check-ssl maxconn 140 fall 3 rise 3
		server node2 10.11.10.32:443 check inter 15s check-ssl maxconn 140 fall 3 rise 3
		server node3 10.11.10.33:443 check inter 15s check-ssl maxconn 140 fall 3 rise 3

Restart haproxy service

systemctl restart haproxy

You should now be able to browse to https://<aria-operations-vip-fqdn

PowerCLI Module For VMware Cloud Foundation: Bringup Using an Existing JSON

This is the 2nd post in a series on the native PowerCLI Module For VMware Cloud Foundation (VCF). If you haven’t seen the previous post, it is available here:

  1. PowerCLI Module For VMware Cloud Foundation: Introduction

This post will focus on the Cloud Builder module to perform a bringup of a VCF instance. For this example, I am using a pre-populated JSON file. I will do a follow-up post on how to create the spec from scratch.

To get started we need a Cloud Builder connection.

Connect-VcfCloudBuilderServer -Server sfo-cb01.sfo.rainpole.io -User admin -Password VMw@re1!VMw@re1!

If you have a pre-populated json spec, you can simply do the following to perform a validation using the Cloud Builder API

$sddcSpec = (Get-Content -Raw .\sfo-m01-bringup-spec.json)
Invoke-VcfCbValidateBringupSpec -SddcSpec $sddcSpec

And once the validation passes, do the following to start the bringup:

Invoke-VcfCbStartBringup -sddcSpec $sddcSpec

Bringup is a long-running task but you can monitor the status using something like this

# Retrieve the bringup task id
$bringupTaskId = (Invoke-VcfCbGetBringupTasks).elements.Id

#Poll the status of the task until it is no longer in progress
Do {
$bringupTask = Invoke-VcfCbGetBringupTaskByID -id $bringupTaskId
}
Until ($bringupTask.Status -ne 'IN_PROGRESS')

PowerCLI Module For VMware Cloud Foundation: Introduction

As you are no doubt aware I am a fan of PowerShell and PowerCLI. Since my early days working with VMware products, whether it was vCenter, vCloud Director or VMware Cloud Foundation (VCF), I have always leveraged PowerCLI to get the job done. Up until recently, there was no native PowerCLI support for the VMware Cloud Foundation API. Hence why I started the open-source PowerVCF project almost 5 years ago! PowerVCF has grown and matured as new maintainers came onboard. Open-source projects are a great way to deliver functionality to our customers that is not yet available in officially supported channels. Since the release of PowerCLI 13.1 I am delighted to say that we now have officially supported, native PowerCLI modules for VMware Cloud Foundation.

2 distinct modules are now part of PowerCLI. One for the Cloud Builder API and one for the SDDC Manager API.

Install-Module -Name VMware.Sdk.Vcf.CloudBuilder
Install-Module -Name VMware.Sdk.Vcf.SddcManager

The cmdlets for each module are too many to list here but to see what’s available once you have them installed do the following

get-command -module VMware.Sdk.Vcf.CloudBuilder
get-command -module VMware.Sdk.Vcf.SDDCManager

You will see from the output that the cmdlets are broken into primarily 2 types:

  • Initialize-Vcf<xyz>
    • Used to gather information and generate input specs
  • Invoke-Vcf<xyz>
    • Used to execute the API request with an input spec

Each module also has a connect/disconnect cmdlet which can be used in the following way

Connect-VcfCloudBuilderServer -Server sfo-cb01.sfo.rainpole.io -User admin -Password VMw@re1!VMw@re1!

This connection object is then stored in $defaultCloudBuilderConnections

Connect-VcfSddcManagerServer -Server sfo-vcf01.sfo.rainpole.io -User administrator@vsphere.local -Password VMw@re1!VMw@re1!

This connection object is then stored in $defaultsddcManagerConnections

Note: If you are working in a lab environment with untrusted certs you can pass -IgnoreInvalidCertificate to each of the above commands.

Once you have an active connection, you can begin to query the API. The example below returns a list of all hosts from SDDC Manager. One thing you will notice, if you are a PowerVCF user, is that you will need to parse the response a little more than you needed to with the PowerVCF cmdlet Get-VCFHost.

Running Invoke-VcfGetHosts will return a list of host elements

So to parse the response, you can do something like this, which will return the details of all hosts

But lets say you would like to filter the response to just the hosts from a specific workload domain. You first need the Id of the workload domain, in this case sfo-m01.

And you can then get a filtered list of hosts for that domain

Hopefully, this introduction was helpful, I will put together a series of blogs over the next few weeks covering some of the main VCF operations, such as bringup, commissioning hosts, deploying workload domains etc. As always, comments & feedback are welcome. Please let me know what your experience is with the new modules and I can feed it back to the engineering team.

Cleanup Failed Credential Tasks in VMware Cloud Foundation

I have covered how to clean up general failed tasks in Cleanup Failed Credentials Tasks in VMware Cloud Foundation in a previous post. Another type of task that can be in a failed state is a credentials rotation operation. Credential operations can fail for a number of reasons (the underlying component is unreachable at the time of the operation etc), and this type of failed task is a blocking task – i.e. you cannot perform another credential task until you clean up or cancel the failed task. The script below leverages the PowerVCF cmdlet Get-VCFCredentialTask to discover failed credential tasks and Stop-VCFCredentialTask to clean them up. As with all scripts, please test thoroughly in a lab before using it in production.

# Script to cleanup failed credential tasks in SDDC Manager
# Written by Brian O'Connell - Staff II Solutions Architect @ VMware
#User Variables
# SDDC Manager FQDN. This is the target that is queried for failed tasks
$sddcManagerFQDN = "sfo-vcf01.sfo.rainpole.io"
# SDDC Manager API User. This is the user that is used to query for failed tasks. Must have the SDDC Manager ADMIN role
$sddcManagerAPIUser = "administrator@vsphere.local"
$sddcManagerAPIPassword = "VMw@re1!"
# DO NOT CHANGE ANYTHING BELOW THIS LINE
#########################################
# Set TLS to 1.2 to avoid certificate mismatch errors
[Net.ServicePointManager]::SecurityProtocol = [Net.SecurityProtocolType]::Tls12
# Install PowerVCF if not already installed
if (!(Get-InstalledModule -name PowerVCF -MinimumVersion 2.4.0 -ErrorAction SilentlyContinue)) {
Install-Module -Name PowerVCF -MinimumVersion 2.4.0 -Force
}
# Request a VCF Token using PowerVCF
Request-VCFToken -fqdn $sddcManagerFQDN -username $sddcManagerAPIUser -password $sddcManagerAPIPassword
# Retrieve a list of failed tasks
$failedTaskIDs = @()
$ids = (Get-VCFCredentialTask -status "Failed").id
Foreach ($id in $ids) {
$failedTaskIDs += ,$id
}
# Cleanup the failed tasks
Foreach ($taskID in $failedTaskIDs) {
Stop-VCFCredentialTask -id $taskID
# Verify the task was deleted
Try {
$verifyTaskDeleted = (Get-VCFCredentialTask -id $taskID)
if (!$verifyTaskDeleted) {
Write-Output "Task ID $taskID Deleted Successfully"
}
}
catch {
Write-Error "Something went wrong. Please check your SDDC Manager state"
}
}

Install HashiCorp Terraform on a PhotonOS Appliance

HashiCorp Terraform is not currently available on the Photon OS repository. If you would like to install Terraform on a PhotonOS appliance you can use the script below. Note: The versions for Go and Terraform that I have included are current at the time of writing. Thanks to my colleague Ryan Johnson who shared this method with me some time ago for another project.

#!/usr/bin/env bash

# Versions
GO_VERSION="1.21.4"
TERRAFORM_VERSION="1.6.3"

# Arch
if [[ $(uname -m) == "x86_64" ]]; then
  LINUX_ARCH="amd64"
elif [[ $(uname -m) == "aarch64" ]]; then
  LINUX_ARCH="arm64"
fi

# Directory
if ! [[ -d ~/code ]]; then
  mkdir ~/code
fi

# Go
wget -q -O go${GO_VERSION}.linux-${LINUX_ARCH}.tar.gz https://golang.org/dl/go${GO_VERSION}.linux-${LINUX_ARCH}.tar.gz
tar -C /usr/local -xzf go${GO_VERSION}.linux-${LINUX_ARCH}.tar.gz
PATH=$PATH:/usr/local/go/bin
go version
rm go${GO_VERSION}.linux-${LINUX_ARCH}.tar.gz
export GOPATH=${HOME}/code/go

# HashiCorp
wget -q https://releases.hashicorp.com/terraform/${TERRAFORM_VERSION}/terraform_${TERRAFORM_VERSION}_linux_${LINUX_ARCH}.zip
unzip -o -d /usr/local/bin/ terraform_${TERRAFORM_VERSION}_linux_${LINUX_ARCH}.zip
rm ./*.zip

Deploy VMware Cloud Foundation Cloud Builder using the vSphere Terraform Provider

As part of my series on deploying and managing VMware Cloud Foundation using Terraform, this post will focus on deploying the VMware Cloud Foundation Cloud Builder appliance using the vSphere Terraform provider. I’ve used this provider in the past to deploy the NSX Manager appliance.

Check out the other posts on Terraform with VMware Cloud Foundation here:

Deploy Cloud Builder with the vSphere Terraform Provider

As before, you first need to define your provider configuration

# providers.tf
 
terraform {
  required_providers {
    vsphere = {
      source  = "hashicorp/vsphere"
      version = "2.5.1"
    }
  }
}
provider "vsphere" {
  user                 = var.vsphere_user
  password             = var.vsphere_password
  vsphere_server       = var.vsphere_server
  allow_unverified_ssl = true
}

Then we define our variables

# variables.tf
 
# vSphere Infrastructure Details
variable "data_center" { default = "sfo-m01-dc01" }
variable "cluster" { default = "sfo-m01-cl01" }
variable "vds" { default = "sfo-m01-vds01" }
variable "datastore" { default = "vsanDatastore" }
variable "compute_pool" { default = "sfo-m01-cl01" }
variable "compute_host" {default = "sfo01-m01-esx01.sfo.rainpole.io"}
variable "vsphere_server" {default = "sfo-m01-vc01.sfo.rainpole.io"}
 
# vCenter Credential Variables
variable "vsphere_user" {}
variable "vsphere_password" {}
 
# Cloud Builder Deployment
variable "mgmt_pg" { default = "sfo-m01-vds01-pg-mgmt" }
variable "vm_name" { default = "sfo-cb01" }
variable "local_ovf_path" { default = "F:\\binaries\\VMware-Cloud-Builder-4.5.2.0-22223457_OVF10.ova" }
variable "ip0" { default = "172.16.225.66" }
variable "netmask0" { default = "255.255.255.0" }
variable "gateway" { default = "172.16.225.1" }
variable "dns" { default = "172.16.225.4" }
variable "domain" { default = "sfo.rainpole.io" }
variable "ntp" { default = "ntp.sfo.rainpole.io" }
variable "searchpath" { default = "sfo.rainpole.io" }
variable "ADMIN_PASSWORD" { default = "VMw@re1!" }
variable "ROOT_PASSWORD" { default = "VMw@re1!" }
variable "hostname" { default = "sfo-cb01.sfo.rainpole.io" }

Note the vCenter Server credentials in the above variables.tf do not have default values. We will declare these sensitive values in a terraform.tfvars file and add *.tfvars to our .GitIgnore file so they are not synced to our Git repo.

# terraform.tfvars
 
# vSphere Provider Credentials
vsphere_user     = "administrator@vsphere.local"
vsphere_password = "VMw@re1!"

Now that we have all of our variables defined we can define our main.tf to perform the deployment. As part of this, we first need to gather some data from the target vCenter Server, so we know where to deploy the appliance.

# main.tf
 
# Data source for vCenter Datacenter
data "vsphere_datacenter" "datacenter" {
  name = var.data_center
}
 
# Data source for vCenter Cluster
data "vsphere_compute_cluster" "cluster" {
  name          = var.cluster
  datacenter_id = data.vsphere_datacenter.datacenter.id
}
 
# Data source for vCenter Datastore
data "vsphere_datastore" "datastore" {
  name          = var.datastore
  datacenter_id = data.vsphere_datacenter.datacenter.id
}
 
# Data source for vCenter Portgroup
data "vsphere_network" "mgmt" {
  name          = var.mgmt_pg
  datacenter_id = data.vsphere_datacenter.datacenter.id
}
 
# Data source for vCenter Resource Pool. In our case we will use the root resource pool
data "vsphere_resource_pool" "pool" {
  name          = format("%s%s", data.vsphere_compute_cluster.cluster.name, "/Resources")
  datacenter_id = data.vsphere_datacenter.datacenter.id
}
 
# Data source for ESXi host to deploy to
data "vsphere_host" "host" {
  name          = var.compute_host
  datacenter_id = data.vsphere_datacenter.datacenter.id
}
 
# Data source for the OVF to read the required OVF Properties
data "vsphere_ovf_vm_template" "ovfLocal" {
  name             = var.vm_name
  resource_pool_id = data.vsphere_resource_pool.pool.id
  datastore_id     = data.vsphere_datastore.datastore.id
  host_system_id   = data.vsphere_host.host.id
  local_ovf_path   = var.local_ovf_path
  ovf_network_map = {
    "Network 1" = data.vsphere_network.mgmt.id
  }
}
 
# Deployment of VM from Local OVA
resource "vsphere_virtual_machine" "cb01" {
  name                 = var.vm_name
  datacenter_id        = data.vsphere_datacenter.datacenter.id
  datastore_id         = data.vsphere_ovf_vm_template.ovfLocal.datastore_id
  host_system_id       = data.vsphere_ovf_vm_template.ovfLocal.host_system_id
  resource_pool_id     = data.vsphere_ovf_vm_template.ovfLocal.resource_pool_id
  num_cpus             = data.vsphere_ovf_vm_template.ovfLocal.num_cpus
  num_cores_per_socket = data.vsphere_ovf_vm_template.ovfLocal.num_cores_per_socket
  memory               = data.vsphere_ovf_vm_template.ovfLocal.memory
  guest_id             = data.vsphere_ovf_vm_template.ovfLocal.guest_id
  scsi_type            = data.vsphere_ovf_vm_template.ovfLocal.scsi_type
 
  wait_for_guest_net_timeout = 5
 
  ovf_deploy {
    allow_unverified_ssl_cert = true
    local_ovf_path            = var.local_ovf_path
    disk_provisioning         = "thin"
    ovf_network_map   = data.vsphere_ovf_vm_template.ovfLocal.ovf_network_map
 
  }
  vapp {
    properties = {
      "ip0"               = var.ip0,
      "netmask0"          = var.netmask0,
      "gateway"          = var.gateway,
      "dns"             = var.dns,
      "domain"           = var.domain,
      "ntp"              = var.ntp,
      "searchpath"       = var.searchpath,
      "ADMIN_USERNAME"  = "admin",
      "ADMIN_PASSWORD"           = var.ADMIN_PASSWORD,
      "ROOT_PASSWORD"       = var.ROOT_PASSWORD,
      "hostname"           = var.hostname
    }
  }
  lifecycle {
    ignore_changes = [
      #vapp # Enable this to ignore all vapp properties if the plan is re-run
      vapp[0].properties["ADMIN_PASSWORD"],
      vapp[0].properties["ROOT_PASSWORD"],
      host_system_id # Avoids moving the VM back to the host it was deployed to if DRS has relocated it
    ]
  }
}

Now we can run the following to initialise Terraform and the required vSphere provider

terraform init 

One the provider is initialised, we can then create a terraform plan to ensure our configuration is valid.

terraform plan -out=DeployCB

Now that we have a valid configuration we can apply our plan to deploy the Cloud Builder appliance.

terraform apply DeployCB